

- Published on
5 Ways to Improve Your Website's Lighthouse Score and SEO
- Authors
- Name
- Gyanendra Kumar Knojiya
- @gyanknojiya


When developing a website for Production, you want everyone who visits it to have a positive experience. The Lighthouse, a Chrome Dev tool that analyses how your site performs on multiple metrics, is one of the greatest tools for this purpose.
By following these steps, you can get excellent lighthouse score-
- 1. Art Direction & Responsive Images
- 2. Server-Side Rendering and Lazy Loading (code splitting)
- 3. Minify and Compress your resources
- 4. Compressed images
- 5. Use alt, aria-label, and aria-labelledby
- Conclusion
1. Art Direction & Responsive Images
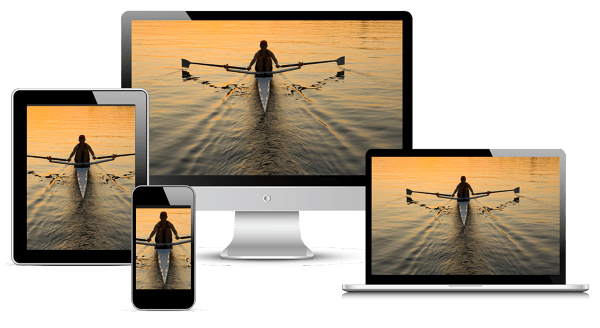
Website Optimization: When we construct a web page, the size of the image takes precedence. As result, load time increases with an increase in image size. We must always take care of photos and employ methods that are as efficient as possible.
The most common method of utilizing images is to:
<img src="elva-fairy-800w.jpg" alt="Elva dressed as a fairy" />
However, there are considerably more efficient ways to use images:
<!-- Responsive Images -->
<img
  srcset="elva-fairy-420w.jpg 480w, elva-fairy-768w.jpg 768w"
  sizes="(max-width: 620px) 420px, 768px"
  src="elva-fairy-1000w.jpg"
  alt="Elva dressed as a fairy"
/>

<!-- Art Direction -->
<picture>
  <source media="(max-width: 768px)" srcset="elva-7680w-close-portrait.jpg" />
  <source media="(min-width: 1000px)" srcset="elva-1000w.jpg" />
  <img src="elva-1000w.jpg" alt="Chris standing up holding his daughter Elva" />
</picture>
Using these approaches, browsers can load the images that are most suited for the size of the screen you're using, sparing you from having to download a large quantity of data that you don't need.
For further details, please see the MDN doc MDN Doc
2. Server-Side Rendering and Lazy Loading (code splitting)

Website Optimization: Pages load quicker with a server-side rendered application, which improves the user experience.
Because material may be generated before the page is loaded, search engines can simply index and crawl content when rendered server-side, which is perfect for SEO.
Lazy loading is another key aspect. It's a programming technique in which resources are loaded only when they're needed. This results in significant performance improvements during the website's first load. Lazy loading is simple to implement in React-based applications:
Lazy loading can reduce FCP (First Contentful Paint), which means your website becomes interactive in very little time.
// Before:
import { add } from './math';

console.log(add(16, 26));

// After:
import('./math').then((math) => {
  console.log(math.add(16, 26));
});
When Webpack encounters this syntax, it begins code-splitting your app automatically. If you're using Create React App, this is already set up for you, so you can get started right away. Next.js also supports it out of the box.
3. Minify and Compress your resources
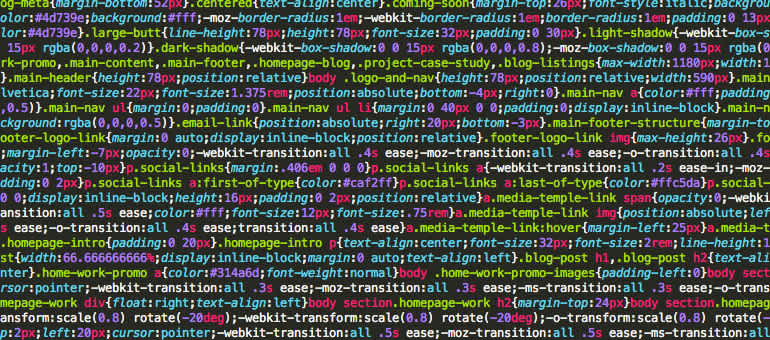
Website Optimization: In the production environment, minifying JavaScript and CSS is always a smart idea. It significantly decreases the number of objects to be loaded while also eliminating useless code.
Webpack is a fantastic tool for this. JavaScript is minimized by default in the Production environment. Additional plugins, such as the css-minimizer-webpack-plugin, can be used for other resources, such as CSS.
npm install css-minimizer-webpack-plugin --save-dev
const MiniCssExtractPlugin = require('mini-css-extract-plugin');
const CssMinimizerPlugin = require('css-minimizer-webpack-plugin');

module.exports = {
  module: {
    rules: [
      {
        test: /.s?css$/,
        use: [MiniCssExtractPlugin.loader, 'css-loader', 'sass-loader'],
      },
    ],
  },
  optimization: {
    minimizer: [new CssMinimizerPlugin()],
  },
  plugins: [new MiniCssExtractPlugin()],
};
Detailed doc is for CssMinimizerWebpackPlugin is here
Code-compression can reduce the size of assets by 70-80%. We can use gzip or Brotli compression.
Brotli compresses Javascript files 14% smaller than gzip. HTML files are 21% smaller than gzip files. CSS files are 17% smaller than gzip files.
npm install compression-webpack-plugin --save-dev
const CompressionPlugin = require('compression-webpack-plugin');

module.exports = {
  plugins: [
    new CompressionPlugin({
      algorithm: 'gzip',
    }),
  ],
};
Detailed doc is for compression-webpack-plugin is here
4. Compressed images
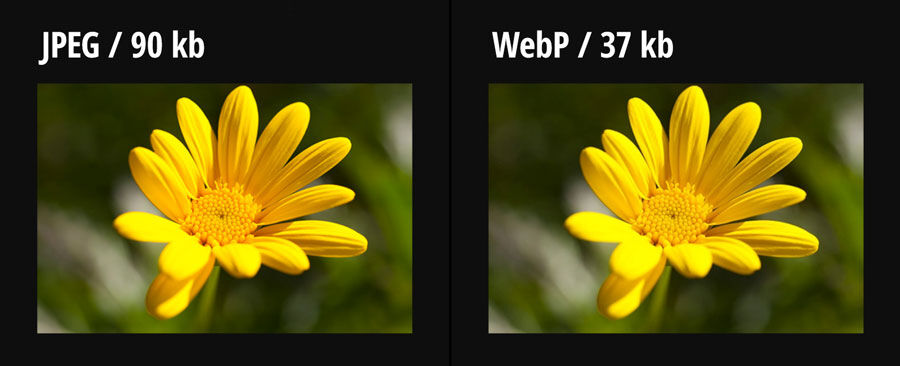
Website Optimization: In comparison to its GIF, JPEG, and PNG forerunners, next-gen images employ formats, such as WebP, with better compression and quality. These picture formats include innovative characteristics that allow them to consume less data while keeping a high degree of quality, making them ideal for online use.
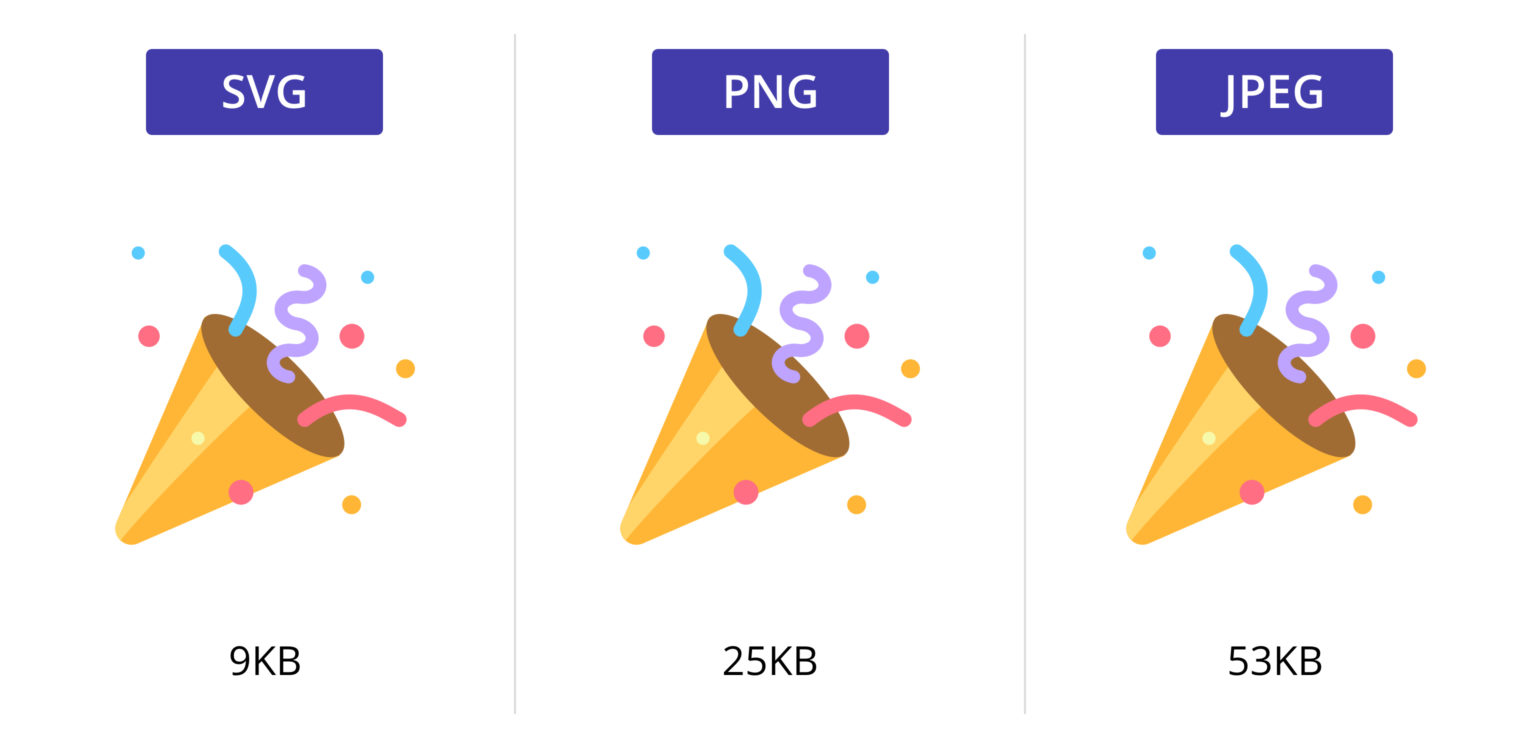
You may also employ vector graphics formats like SVG (Scalable Vector Graphics) instead of the more typically used raster graphics, which will help you save time and money.
5. Use alt, aria-label, and aria-labelledby
Website Optimization: These tags help you improve the Website's Accessibility.
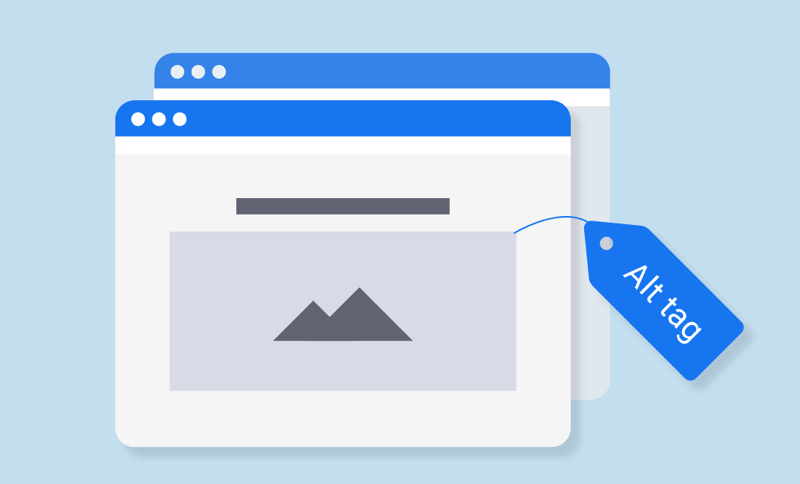
- alt- If an image can't be shown, the needed
altproperty gives an alternative text.
<img src="img_men.jpg" alt="Girl in a jacket" width="600" height="700" />
- area-label- The aria-label attribute specifies a string that serves as a label for the current element. When a text label isn't displayed on the screen, use this option. If the element has a visible text label, use aria-labelledby instead.
<button aria-label="cancel" onclick="cancel()">X</button>
- aria-labelledby- The aria-labelledby attribute establishes associations between objects and their label(s), and its value should be one or more element IDs that correspond to elements with the labeling text.
<div role="menu-bar">
  <div role="menu-item" aria-haspopup="true" id="file-menu">File</div>
  <div role="menu" aria-labelledby="file-menu">
    <div role="menu-item">Open</div>
    <div role="menu-item">Save</div>
    <div role="menu-item">Save as</div>
  </div>
</div>
Conclusion
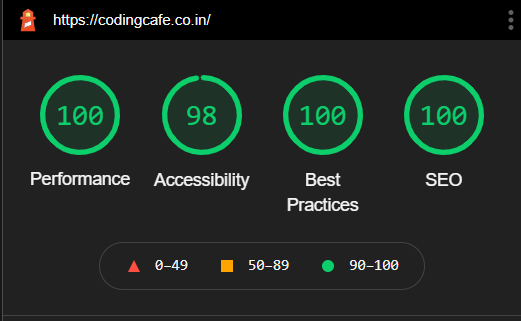
By using these solution you can achieve 100 Lighthouse score.
Thanks for reading this article. If you have any question, contact me here